
This drawstring backpack is what Bella and I have been sewing. It looks like a lot of steps but it really does go together quickly and is an easy kids sewing project. You will find it is easier than you think to make one of those string backpacks with this backpack pattern.

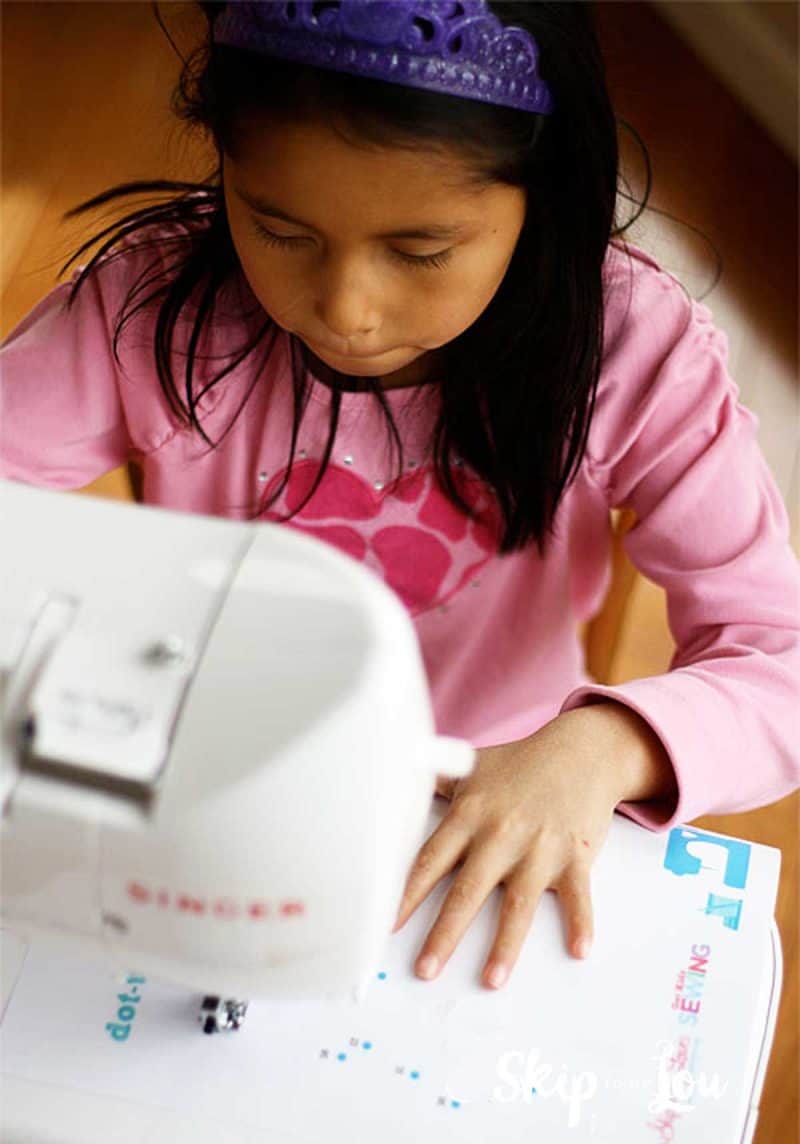
It has some similar techniques as my reversible tote bag tutorial. It is a good beginner sewing project for kids. Sharing the gift of sewing is amazing. Don’t miss the Kids Sewing Series. I have tried to have some fun simple sewing projects to get you started.
Drawstring Backpack Supplies
This little drawstring backpack goes together
- two fat quarters (each measures 18″ X 22″), some
- cording (found mine at Lowe’s) and a
- grommet kit. We used a 7/16″ inch grommet. If you used a smaller cord, a smaller grommet might be needed.


Drawstring Backpack Pattern
Fold each piece of fabric so it measures 11″ X 18″.

Cut along the fold so you have four pieces each measuring 11″ X 18″.

Cut a 3 inch strip off the top of each piece (3″ x 11″).

Cut one inch off each of your 3″ wide pieces (3″ x 10″).

Mix the 3″ X 10″ pieces up! So you have one of each kind. So we have a dot and a flower. Place right sides together.

Sew along one side, across the top, and down the other side — leave the bottom open. Repeat for other piece.

Trim corners.

Turn and press.

Press each piece in half. Make sure to line edges up neatly.

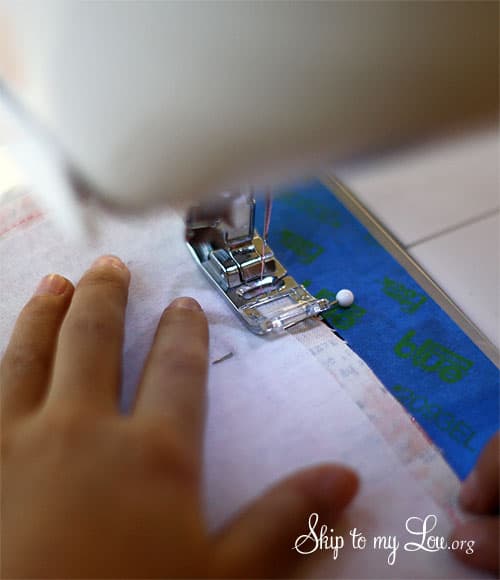
Center one folded piece along the top of each fabric piece. Make sure the folded edge is facing down and top edges match nicely. Machine baste (longest stitch you can make on your sewing machine) along the top to keep it in place.

Place the two pieces of fabric right sides together.

Sew down one side, across the bottom and up the other side. Leave the top completely open.

Place the other two fabric pieces right sides together. Sew down one side, across the bottom LEAVE A 3 INCH OPENING in the bottom middle, then continue sewing along the bottom and up the other side. Leave the top completely open.

Turn the pieces, with the folded piece sewn at the top in, right side out. Slip it inside the other piece. Rights sides will be together.

Sew all the way around the top. This is easiest if your sewing machine has a free arm. Otherwise just go slowly. Make sure edges along the top match.

Turn the whole thing right side through the 3″ opening that was left open at the bottom.

Sew the hole shut and push the lining into the bag.

At each bottom corner measure up 1 inch and over 1 inch and mark.

Cut a hole through all layers of fabric the size of the grommet. Read package directions. I did this part for Bella.

Place large grommet up through the hole.

Place ring on the other side over the grommet.

Place black plastic piece under the large grommet and the tool through to top ring and firmly hammer.

Feed 68 inches of cording through the top pockets. Next, feed another 68 inches of cording through the pocket but go the opposite direction.

Bring the cording through the grommet and tie with a knot. Repeat for the other side.

Tadah! A useful drawstring backpack that is fully lined!
More fun things to sew!
Once you have made your drawstring backpack check out these beginning sewing projects perfect for sewing with kids. We especially love the sewing sheets!
Print and Sew Teddy Bear Sewing Pattern


The post Drawstring Backpack {Sewing Tutorial} appeared first on Skip To My Lou.